Disclosure: This post contains affiliate links. We may earn a commission at no extra cost to you.
How to Apply Eye Cream Correctly for Maximum Anti-Aging Results
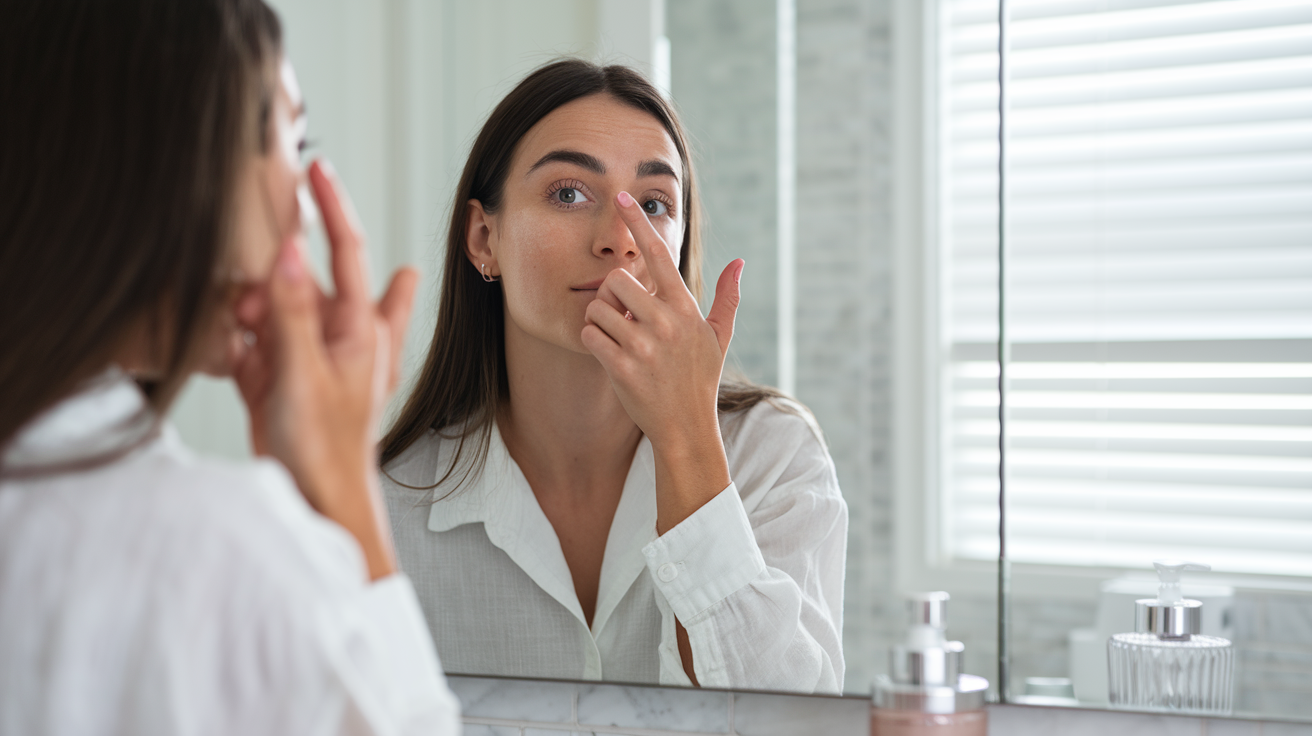
Are you making the same eye cream mistake that causes product to migrate into your lash line, burn your eyes, and actually emphasize fine lines instead of softening them?
Most people apply eye cream too close to the lash line, use too much pressure, or rub it in like they would a regular moisturizer. These small mistakes can prevent your eye cream from working the way it should and may even contribute to puffiness and irritation.
The good news is that applying eye cream correctly takes less than 30 seconds once you know the right zones, the proper technique, and the ideal amount. Let's walk through the exact method that helps maximize absorption while protecting the delicate skin around your eyes.
Why the Orbital Bone Matters: The Correct Application Zone
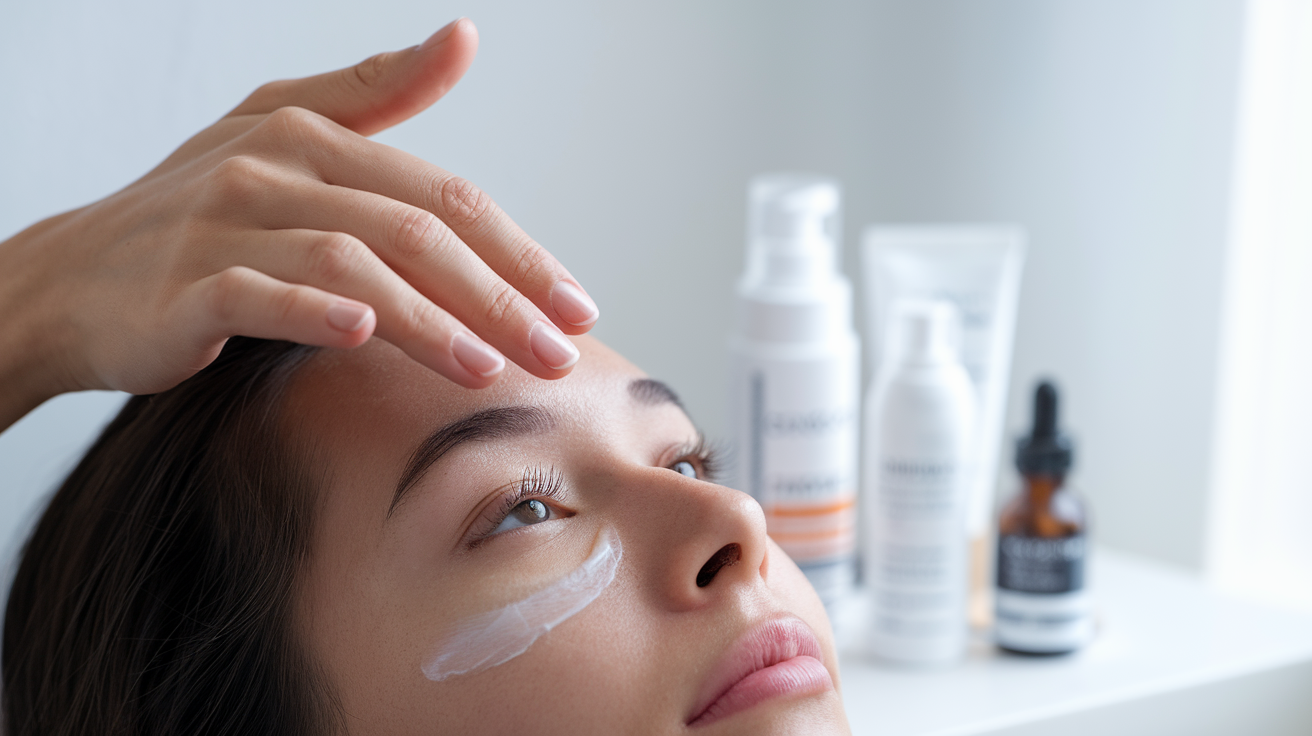
Your orbital bone is the bony ridge that surrounds your eye socket. You can feel it by gently pressing around your eye area—it forms a complete circle from your brow bone down to your upper cheek.
This bone is your guideline for where eye cream should go.
Most people apply eye cream too close to the lash line, thinking they need to target the area where they see the most lines. But the skin near your lashes is extremely thin and has very few oil glands. When you apply product there, it can migrate into your eyes and cause stinging or puffiness.
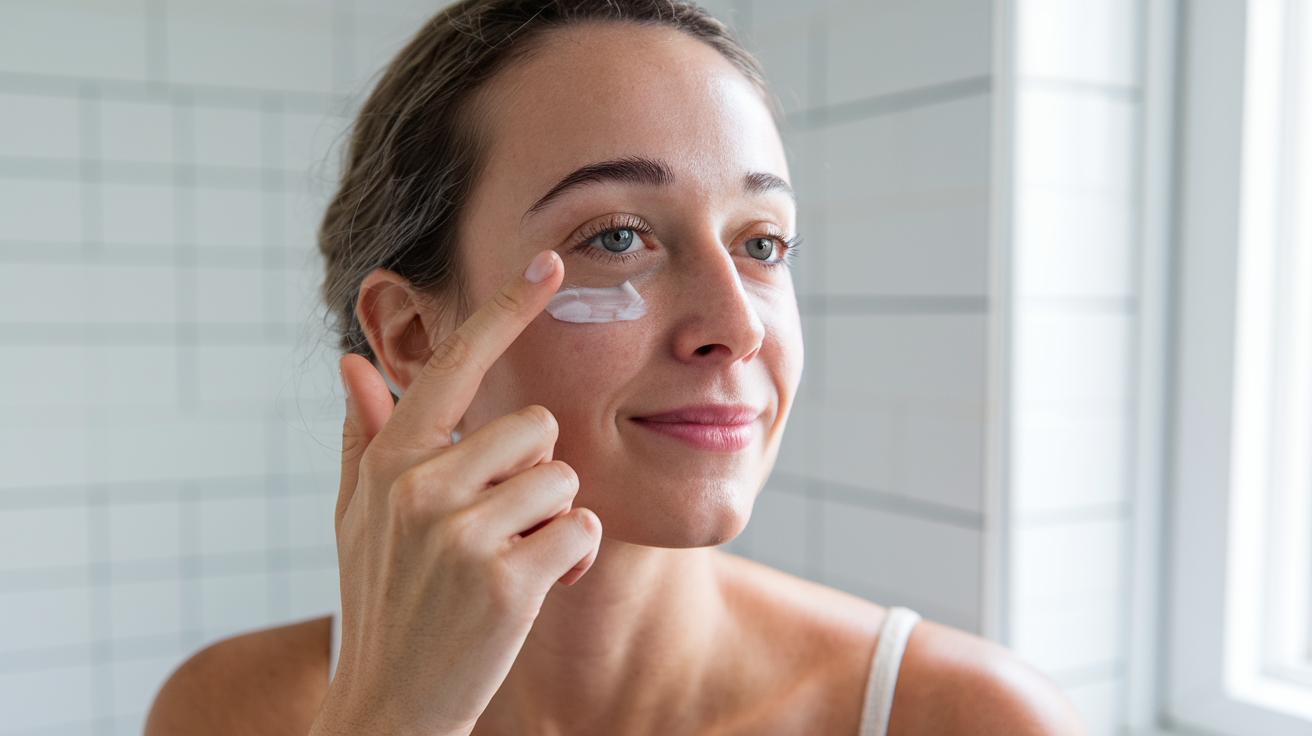
Instead, apply eye cream along the orbital bone—about a half-inch away from your lash line on the lower lid, and just below the brow bone on the upper lid. The product will naturally migrate inward as your skin warms and moves throughout the day, so you don't need to place it directly on the finest skin.
This approach helps protect the delicate eye area while still allowing the active ingredients to reach the skin that benefits most from hydration and support. If you want a complete breakdown of which ingredients work best for different concerns, check out this affiliate one for a detailed routine.
The Ring Finger Method: Gentle Pressure for Delicate Skin
Your ring finger is naturally weaker than your index or middle finger, which makes it ideal for applying product to the thin skin around your eyes.
Using too much pressure can stretch the skin, disrupt the product, and even contribute to the appearance of fine lines over time. The ring finger helps you apply just enough pressure to spread the cream without tugging or pulling.
Here's how to use it: dot a small amount of eye cream along the orbital bone on both eyes. Then use your ring finger to gently press and pat the product into the skin, working from the inner corner outward along the lower lid, and from the inner brow outward along the upper area.
Avoid dragging your finger across the skin. Instead, use a light pressing motion that allows the product to sink in without friction.
If you wear contact lenses or have especially sensitive eyes, this method also reduces the chance of getting product into your eyes, which can cause irritation or blurred vision.
Tired of seeing under-eye lines before you see yourself?
If the tiny creases under your eyes make you look more tired than you feel, this guide shows the simple under-eye routine that helps soften the look of dry lines, crepey texture, and tired skin without guessing or wasting weeks on random products.
Tapping vs Rubbing: Which Technique Boosts Product Absorption
Tapping wins—every time.
Rubbing eye cream in circular motions might feel intuitive, but it creates friction that can stretch the skin and cause the product to ball up or sit on the surface instead of absorbing.
Tapping, on the other hand, uses gentle percussive pressure that encourages circulation and helps the product penetrate without pulling the skin. It also feels soothing and can temporarily reduce the appearance of puffiness by encouraging lymphatic drainage.
To tap correctly, use the pads of your ring finger (or both ring fingers at once) and lightly tap along the orbital bone where you've applied the cream. The taps should be quick and light—think of a soft drumroll, not a firm press.
Continue tapping for about 10 to 15 seconds per eye, or until the product feels absorbed. You'll notice the cream starts to disappear and the skin feels smoother but not greasy or tacky.
This technique works especially well with thicker creams or balms that need a little extra encouragement to sink in. For lightweight gels or serums, you may need less tapping time.
How Much Eye Cream to Use and When to Apply It
Less is more when it comes to eye cream.
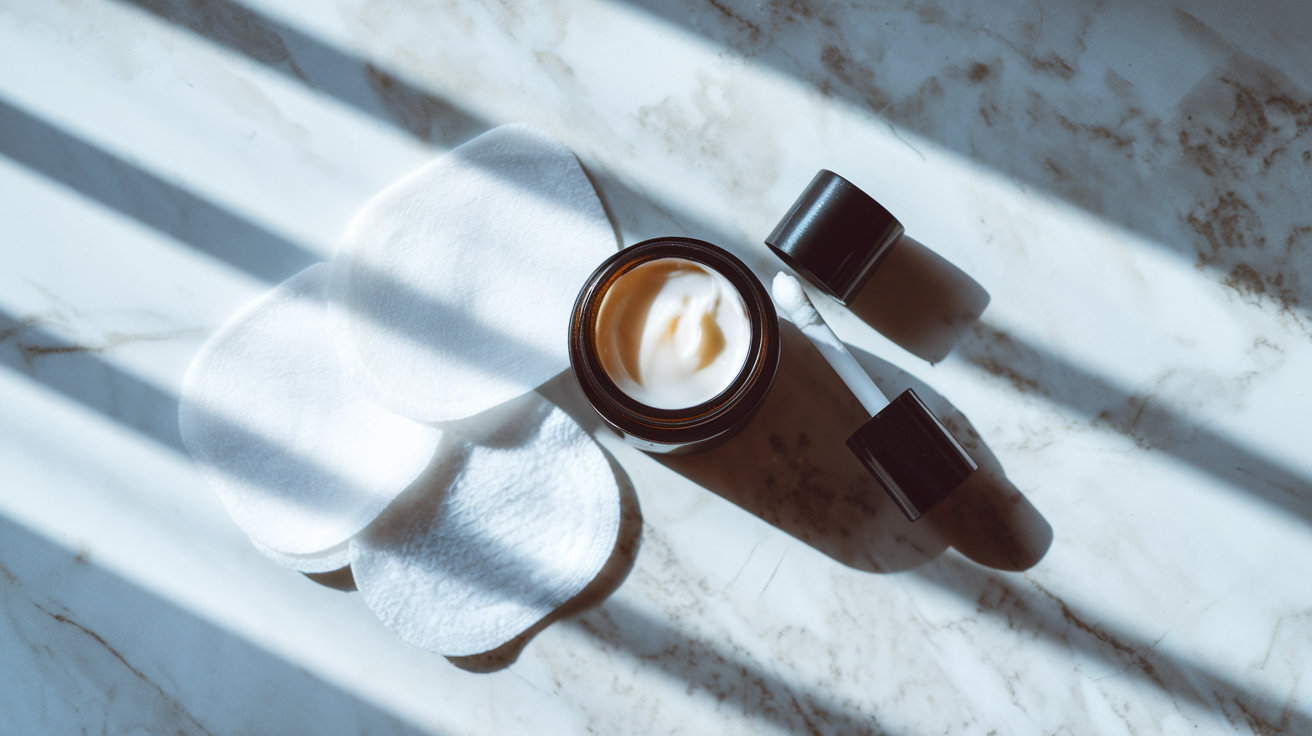
A rice-grain-sized amount per eye is usually enough. If you use too much, the product may sit on the surface, migrate into your eyes, or contribute to milia—those small white bumps that form when product gets trapped under the skin.
If your eye cream comes in a pump or tube, one small pump or a pea-sized amount total (split between both eyes) is the right starting point. You can always add a tiny bit more if your skin feels dry, but start small.
As for timing, apply eye cream after your serum but before your moisturizer. This allows the thinner serum to absorb first, and the eye cream to layer on top without dilution. If you use a heavier night cream, you can apply eye cream after it, but make sure to let each layer absorb before adding the next.
In the morning, apply eye cream after cleansing and toning, then follow with sunscreen. At night, use it after your treatment products but before any occlusive balms or oils.
Consistency matters more than timing. Whether you apply eye cream once or twice a day, make sure you're doing it the same way each time—along the orbital bone, with your ring finger, using a tapping motion, and in the right amount.
If you're still unsure which eye cream formula works best for your skin type or specific concerns, this affiliate one walks you through the different textures and ingredients to consider.
Published November 4, 2026