Disclosure: This post contains affiliate links. We may earn a commission at no extra cost to you.
How to Apply Eye Cream Correctly: 7 Massage Techniques That Actually Work
Have you ever wondered why your expensive eye cream doesn't seem to be doing much for your under-eye area? The problem might not be the product itself—it could be how you're applying it. Most people dot eye cream on and call it done, but the right massage technique can make a real difference in how the product absorbs and how your skin looks after a few weeks of consistent use.
The way you apply eye cream affects everything from puffiness to how tired your eyes look. Let's walk through the techniques that skincare professionals actually use.
Why Application Technique Matters More Than You Think
The skin around your eyes is different from the rest of your face. It's thinner, more delicate, and doesn't have as many oil glands. That means it needs gentler handling and more thoughtful product application.
When you just slap on eye cream without any technique, you might be tugging at delicate skin, missing key areas, or not giving the ingredients time to absorb. Proper massage techniques encourage better absorption, help stimulate circulation, and support the skin's natural drainage pathways.
Think of it this way: if you're investing in quality skincare, you want to give it every chance to work. Application technique is part of that equation.
The Orbital Bone Rule: Where to Actually Apply Eye Cream
Here's something many people get wrong: you shouldn't apply eye cream right up to your lash line.
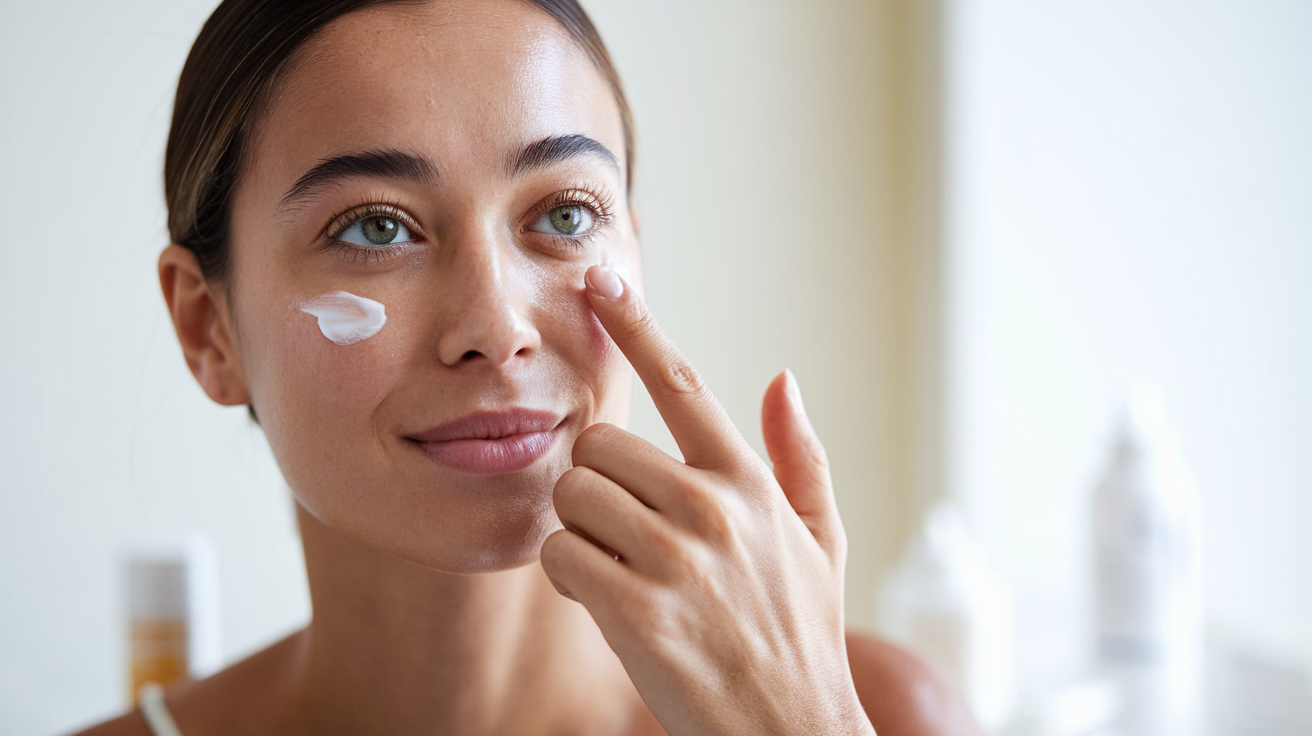
The orbital bone is the hard bone you can feel around your eye socket. This is your guide. Apply eye cream along and just inside this bone—under your eye, along the outer corner, and on the brow bone if your product is designed for that area.
Why not closer to the lashes? Your body heat causes products to travel slightly as they absorb. If you apply too close to your lash line, the cream can migrate into your eyes and cause irritation or puffiness.
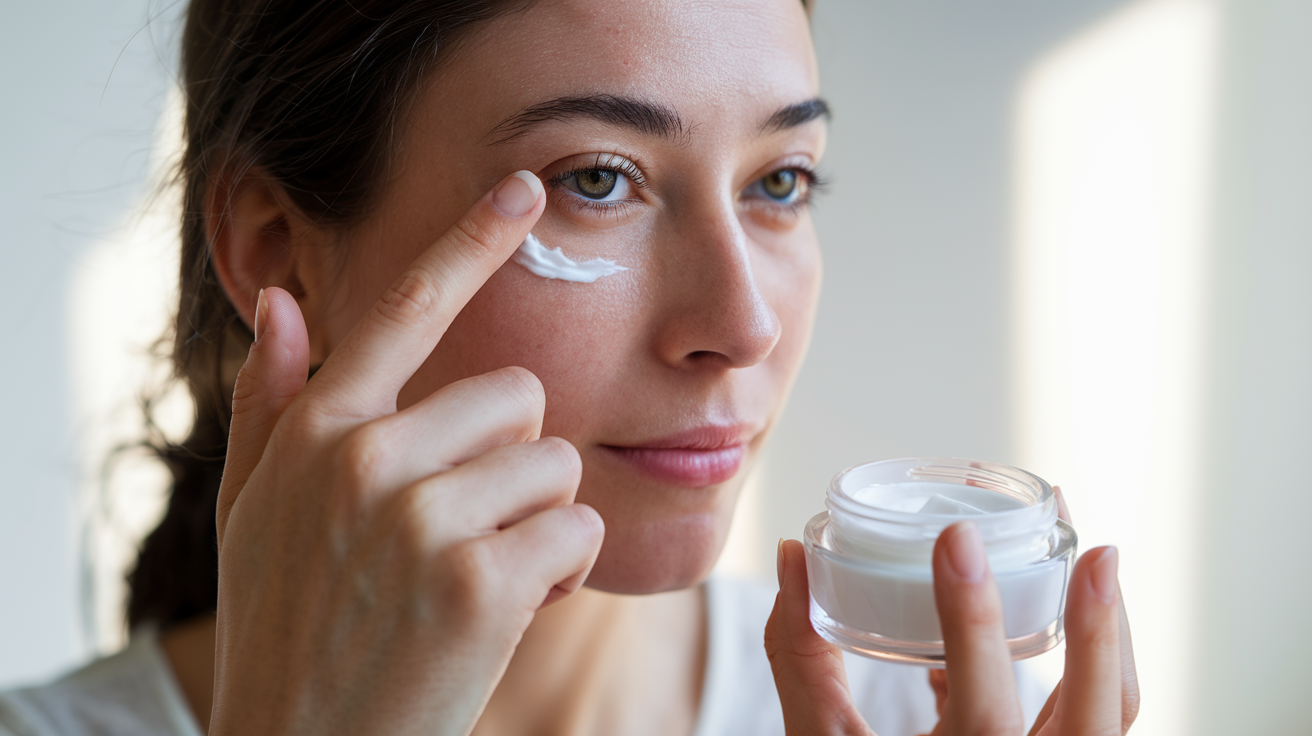
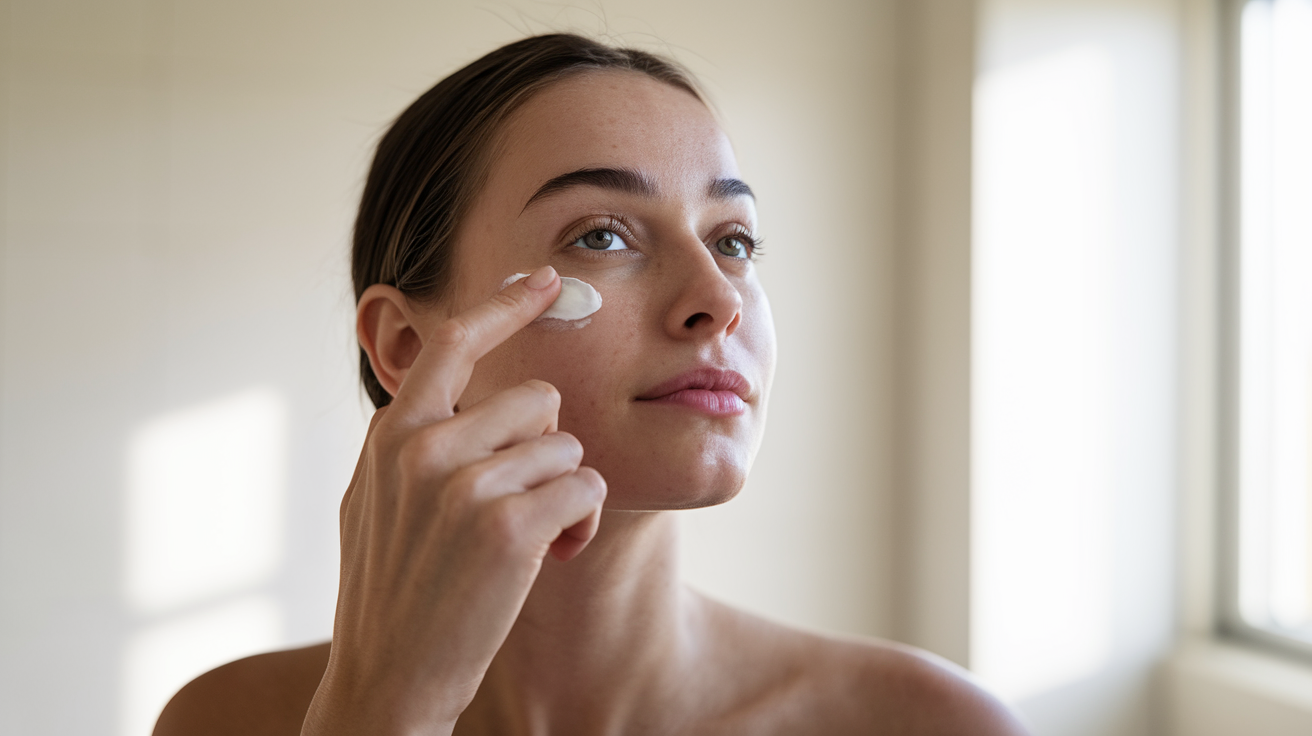
Start about a half-inch below your lower lashes. Use your ring finger (it naturally applies the least pressure) and gently tap or press the product into the skin. Never rub or drag.
7 Professional Massage Techniques for Maximum Absorption
Ready to level up your eye cream routine? Here are seven techniques that professionals use:
1. The Tap and Press: After applying a small amount of eye cream, use your ring finger to gently tap along the orbital bone. Start at the inner corner, move under the eye, and finish at the outer corner. Then gently press without rubbing. This encourages absorption without pulling.
2. The Figure Eight: Trace a gentle figure-eight pattern around both eyes using very light pressure. Start at the inner corner of one eye, move under that eye to the outer corner, continue up and over to the inner corner of the other eye, then under and back around. This promotes circulation and lymphatic drainage.
3. The Pinch and Lift: Using your thumb and forefinger, very gently pinch along the brow bone from the inner corner outward. This can help reduce tension and encourage product absorption in the upper eye area. Be extremely gentle—you're not trying to squeeze, just lightly stimulate.
4. The Cooling Press: Apply your eye cream, then use your ring and middle fingers to gently press and hold at key points: inner corner, mid-under-eye, and outer corner. Hold each spot for three seconds. This technique works especially well with affiliate one approaches that focus on reducing the appearance of tired-looking eyes.
Tired of seeing under-eye lines before you see yourself?
If the tiny creases under your eyes make you look more tired than you feel, this guide shows the simple under-eye routine that helps soften the look of dry lines, crepey texture, and tired skin without guessing or wasting weeks on random products.
5. The Circular Sweep: Starting at the outer corner, use gentle circular motions to work your way around the entire eye area. Keep your circles small and your pressure light. Move inward under the eye, then outward along the brow bone.
6. The Lymphatic Drain: Apply light pressure at the inner corner of your eye, then slowly sweep outward toward your temple. Repeat three times on each eye. This follows your natural lymphatic drainage pathways and can help reduce the appearance of puffiness over time.
7. The Piano Tap: Using all your fingertips (like playing a tiny piano), very gently tap all around the eye area for 10-15 seconds per eye. This increases microcirculation and helps the product sink in without any pulling or tugging.
Common Pressure Points That Reduce Puffiness and Dark Circles
Certain pressure points around the eyes can help reduce the appearance of puffiness and support better circulation. These aren't magic fixes, but when incorporated into your routine consistently, they can make your under-eye area look less tired.
Inner corner point: Right where your nose meets your inner eye, there's a slight indentation. Gently press here for three seconds to help with drainage and reduce the look of congestion in this area.
Under-eye center point: Directly below your pupil, on the orbital bone, gently press and hold for a few seconds. This can help support circulation in that area.
Outer corner point: At the outer corner of your eye, where crow's feet typically form, apply gentle pressure. This area often holds tension.
Temple point: Just outside the eye area, at your temple, gentle circular massage can support overall eye drainage and help you look more refreshed.
Always use clean hands, and never press hard enough to cause discomfort. These techniques work best when combined with affiliate one product application methods that focus on gentle, consistent care.
Morning vs Evening Application: Timing and Technique Differences
Your eye cream routine should look a little different in the morning versus at night.
Morning application: Focus on depuffing and preparing your under-eye area for makeup. Use lighter pressure with tapping and draining techniques. The lymphatic drain and cooling press methods work especially well in the morning. Apply your eye cream after cleansing and toning but before moisturizer and SPF.
If you wake up with puffy eyes, spend an extra 30 seconds on drainage techniques. You can also keep your eye cream in the fridge for an extra cooling effect.
Evening application: This is when you want to focus on absorption and nourishment. Your nighttime eye cream is often richer, so take your time with massage techniques that encourage deeper penetration. The circular sweep and figure-eight methods work well at night.
Apply your eye cream after cleansing and any treatment serums, but before your night moisturizer. Don't rush—give yourself a full minute per eye to really work the product in.
Tools That Enhance Eye Cream Effectiveness
While your fingers work perfectly fine, a few simple tools can enhance your eye cream application:
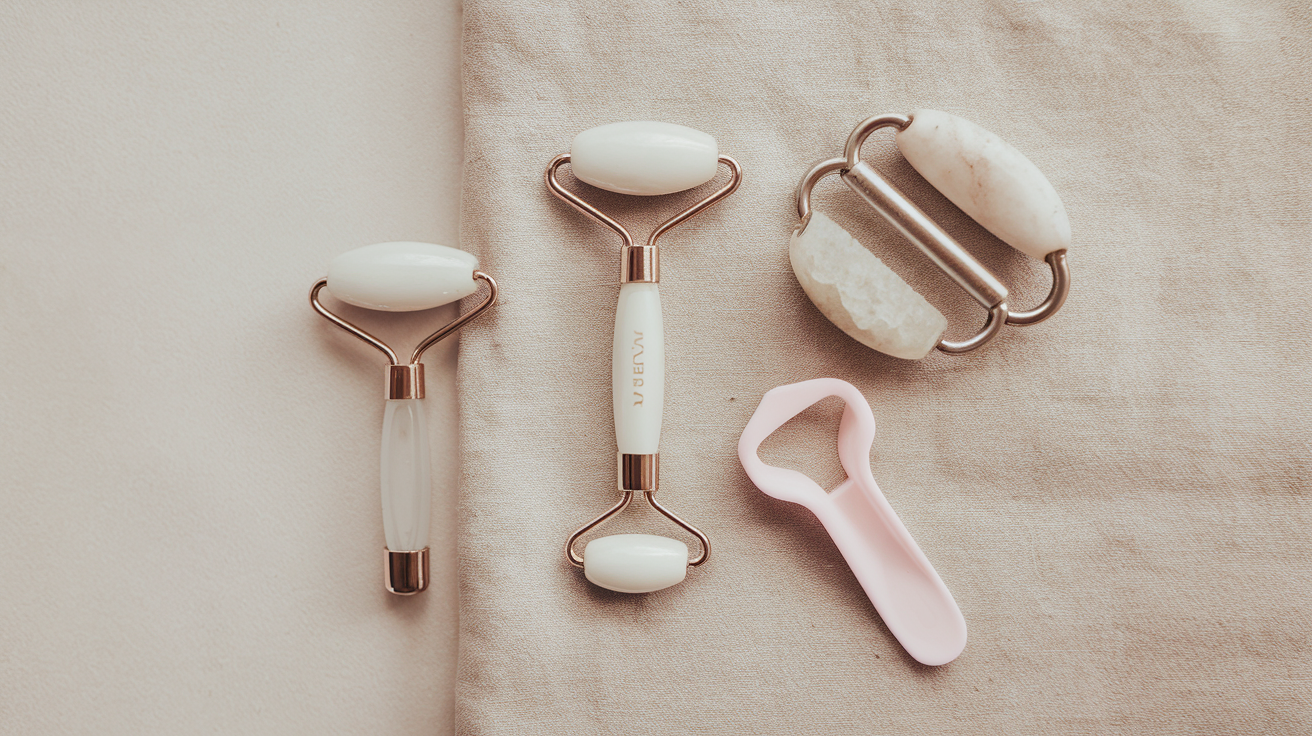
Cooling metal rollers: Small eye rollers made of stainless steel help with depuffing while also encouraging product absorption. Roll gently from inner to outer corner, following the orbital bone.
Jade or rose quartz tools: These stay naturally cool and provide a smooth surface for massage. The coolness can temporarily reduce the appearance of puffiness.
Silicone applicators: Some eye creams come with silicone tips that allow for precise, hygienic application. These work well for tapping techniques.
Gua sha tools: Small eye-specific gua sha tools can be used with very light pressure to support circulation and drainage. Always use them with enough product to allow smooth gliding.
Whatever tool you choose, cleanliness is essential. Wash your tools regularly with gentle soap and water to prevent bacteria buildup near your eyes.
How Long to Wait Before Applying Makeup or Other Products
One of the most common mistakes is rushing to the next step before your eye cream has properly absorbed.
After applying and massaging your eye cream, wait at least 90 seconds to two minutes before moving on. This gives the active ingredients time to start absorbing and prevents pilling when you layer other products.
If you're applying makeup, wait even longer—about three to five minutes is ideal. Eye cream that hasn't fully absorbed can cause concealer to slide, cake, or settle into fine lines.
You'll know your eye cream is ready for the next step when it no longer feels tacky or slippery. The skin should feel smooth and slightly plumped, but not greasy.
If you're in a rush, use a bit less product. A pea-sized amount for both eyes is usually enough. More isn't always better, especially in the delicate eye area.
The right application technique can make your eye cream work harder for you. It won't change your skin overnight, but consistent, gentle massage and proper placement give your products the best chance to help your under-eye area look smoother and less tired over time.